How to remove a fixed shower curtain rod in 6 easy steps (Know Expert Opinion)
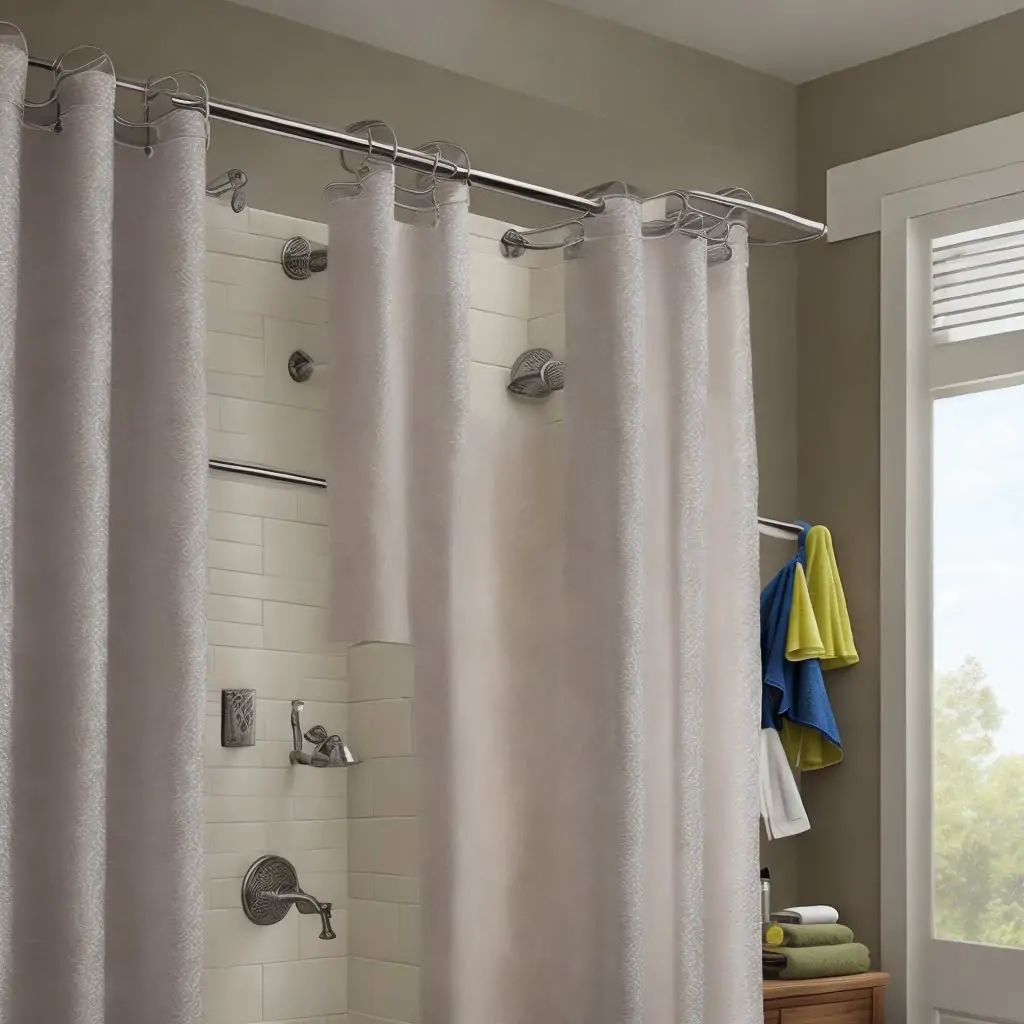
A fixed shower curtain rod is a permanent fixture in your bathroom, typically mounted to the wall or ceiling and used to hang a shower curtain. It’s an important part of any bathroom décor and can add a stylish touch as well as provide privacy when taking showers.
However, sometimes you may need to remove a fixed shower curtain rod for various reasons – it might be too small or large for the space, you want to replace it with another model, or maybe you just want to give your bathroom an updated look. Whatever the reason may be, removing a fixed shower curtain rod isn’t complicated but there are some steps involved that will help make sure it gets done correctly. This guide will show you hHow to remove a fixed shower curtain rod in 6 easy steps from your bathroom safely and quickly.
Step 1: Gather your tools

Having the right tools at hand is crucial when it comes to removing a fixed shower curtain rod. Here’s a list of tools you’ll need to get started.
1. Screwdriver
The screwdriver is the most important tool you’ll need for removing a fixed shower curtain rod. This tool comes in different sizes and shapes, and you’ll need to select the one that matches the screws holding the rod in place. A Phillips head screwdriver works well for most shower curtain rods.
2. Adjustable Wrench
An adjustable wrench may also come in handy, depending on how the rod was attached to the wall. If you see nuts holding the rod or mounting brackets in place, you’ll need to use an adjustable wrench to unscrew them.
3. Power Drill
If your shower curtain rod was secured to a tile or concrete wall with screws and anchors, you’ll need to use a power drill to remove them. You can also use a hammer and chisel, but a power drill is faster and more efficient.
4. Pliers
Pliers are useful for when you need an extra grip on a screw or mounting nut. They can also be used to remove any rust or debris collected around the screw hole or nut.
5. Safety Goggles
Eye protection is important when using power tools or when handling metal objects that can easily cause injury. Avoid any accidents by wearing safety goggles, especially if you’re using a power drill.
Following these simple tool guidelines will make removing your fixed shower curtain rod from your bathroom a hassle-free and easy task. Once you have the right tools, it’s time to move on.
Step 2: Locate the screws that hold the shower curtain rod in place.
Before you start removing your fixed shower curtain rod, you need to locate the screws that hold it in place. Depending on how the rod was mounted, these screws may be visible or concealed behind decorative trim pieces. Here are some tips to help you locate the screws quickly and easily:
1. Look for visible screws
If the rod was mounted with visible screws, they should be easy to locate. Check along the top of the rod and look for any screws that may be holding it in place.
2. Check for trim pieces
If the screws are not visible, you may need to remove any trim pieces that cover them. Carefully examine the rod brackets and look for any decorative pieces that may be concealing the screws.
3. Use a stud finder
If the rod was mounted to a wooden stud, use a stud finder to locate the stud first. Once you’ve found the stud, the screws holding the rod in place should be easy to locate.
4. Consult the installation instructions
If you still can’t locate the screws, check the installation instructions for your shower curtain rod. The instructions should provide information on how the rod was mounted and where the screws are located.
Step 3:Use a screwdriver to loosen the screws
After locating the screws that hold the shower curtain rod in place, it’s time to use a screwdriver to loosen them. Make sure to select a screwdriver that matches the size and shape of the screw head, so it fits perfectly into the slot. A Phillips head screwdriver works well for most shower curtain rods.
To loosen the screws, turn the screwdriver in a counterclockwise direction. If the screw is tight, you may need to apply a bit of force to break the initial resistance. However, be careful not to apply too much pressure, as doing so may damage the screw head or strip the threads.
If you encounter stubborn screws that won’t budge, try spraying some penetrating oil onto the threads. The oil helps to lubricate the screw, making it easier to turn. Another trick is to hold the screwdriver at a slight angle, so it bites into the screw head more firmly.
Once the screw is loose, unscrew it completely using your fingers or pliers. Avoid using too much force when unscrewing the screw, as this may cause the bracket to come loose and fall off. Instead, use a gentle pulling motion to remove the screw.
If there are several screws holding the shower curtain rod in place, work on one screw at a time to avoid damaging the rod or wall. Once you’ve removed all the screws, gently lift the rod away from the brackets and set it aside.
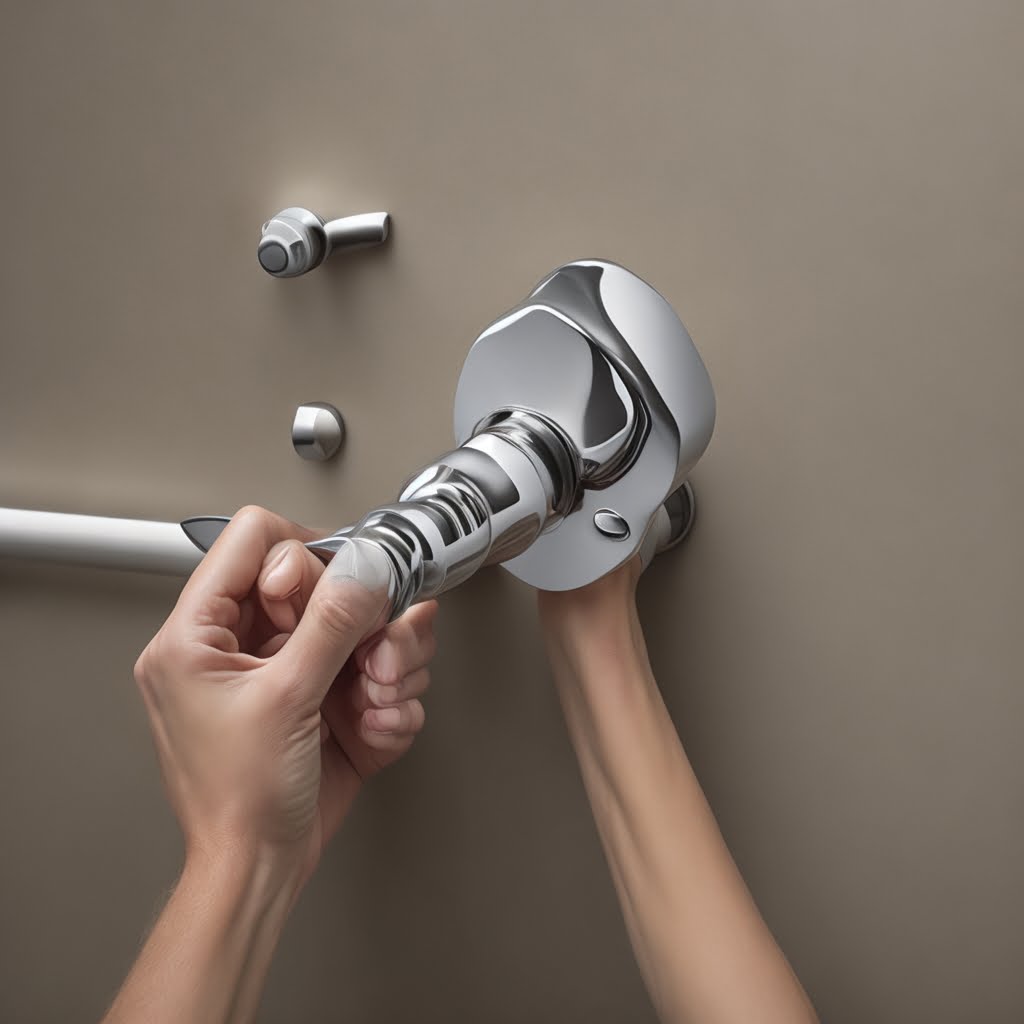
Step 4: Carefully remove the shower curtain rod from the wall

Now that you have successfully removed all the screws from the shower curtain rod, it is time to carefully remove it from the wall. Before you start, make sure to set aside any loose screws in a safe place so that they don’t get lost.
To remove the rod from the wall, start by gently pulling it away from the brackets. Be careful not to pull too hard or too quickly, as this may cause damage to the wall or the surrounding tiles.
If the rod is still stuck, try using a pry bar to gently and slowly pry it away from the wall. However, use this tool with caution and make sure not to damage the tiles or the wall surface.
Once the rod is free from the wall, take a moment to inspect the area around the brackets for any damage or marks. If there are any minor scratches, you can use a putty knife and some spackling compound to fill them in and smooth the surface.
If the damage is more severe, you may need to consider replacing the damaged tiles or repairing the wall. In either case, it is best to seek professional help to ensure that the repair work is done properly.
Once the area around the brackets is in good condition, you can now remove the brackets themselves. Use a screwdriver to remove any remaining screws and gently pry the bracket away from the wall.
Step 5: Discard the old shower curtain rod.
Discarding the old shower curtain rod is the final step in removing it from your bathroom. But you must make sure to dispose of it properly. You can’t just toss it in the trash, as it is made of metal and can be hazardous if disposed of carelessly.
One option is to recycle your old shower curtain rod. Most metal recycling facilities will accept it, and you may even get some money for it. Contact your local recycling center to inquire about their specific rules and regulations.
If recycling is not an option, you can dispose of the shower curtain rod in your regular trash bin. But you must take some precautions first to ensure that it does not harm anyone. Wrap the rod with some duct tape or cloth, so it doesn’t have any exposed edges or sharp points. This will prevent anyone from being accidentally cut or harmed while handling it.
Additionally, make sure to place the wrapped rod at the bottom of the trash bin, so it doesn’t fall or cause any damage to the garbage truck or workers. And finally, do not attempt to bend or break the rod before disposal, as this may cause more harm than good.
It’s important to note that the disposal of your old shower curtain rod is just as important as the removal process itself. By following these simple steps, you can safely and responsibly dispose of your old shower curtain rod, and make way for a new and refreshed look in your bathroom.
Step 6: Install your new shower curtain rod

Installing a new shower curtain rod can be a great way to give your bathroom a fresh look. Whether you’ve decided to replace your old, worn-out rod or simply want to upgrade to a newer, more stylish model, the installation process is relatively straightforward and can be completed in just a few simple steps.
Before you begin, it’s important to gather all the necessary tools and supplies. You’ll need a new shower curtain rod, mounting brackets, screws, a drill, a level, a measuring tape, and a pencil. Once you have everything you need, you can get started.
Step 1: Determine the Proper Placement for the Rod
The first step in installing your new shower curtain rod is to determine where it should be placed. This will depend on the size of your shower/tub area, the height of your ceiling, and your personal preference.
To get an idea of where the rod should be placed, hold up your new rod against the wall and mark the position of the brackets with a pencil. Use a level to make sure the marks are aligned properly. For a standard shower/tub area, the brackets should be placed about 12 inches from the ends of the shower/tub.
Step 2: Install the Mounting Brackets
Once you know where the brackets should be placed, it’s time to install them. Use a drill to create pilot holes for the screws, then attach the brackets securely to the wall with the screws provided.
Make sure the brackets are level and secure before moving on to the next step.
Step 3: Install the Shower Curtain Rod
Now it’s time to install the shower curtain rod itself. Before you do, however, make sure you measure the distance between the brackets to ensure that the rod is the right size.
To install the rod, simply slide it through the holes in the brackets and adjust it to the correct height. Once you’ve done this, your new shower curtain rod should be securely in place and ready for use.
Installing a new shower curtain rod is a relatively simple process that can greatly enhance the look of your bathroom. By following the steps outlined above, you can easily install your new rod and enjoy the benefits of a fresh, updated bathroom. With a little time and effort, you can transform your bathroom into a beautiful, functional space that you’ll love spending time in.
Some Tips for How to Remove a fixed shower curtain rod
- If the screws are rusty or difficult to remove, you can use a lubricant such as WD-40 to help loosen them. Simply spray the lubricant on the screws and let it sit for a few minutes before trying to loosen them again.
- Be careful not to damage the wall when removing the shower curtain rod. If you are using a hammer, be sure to use a soft-faced hammer to avoid damaging the wall.
- If you are installing a new shower curtain rod, be sure to measure the width of your shower opening before you purchase it. This will ensure that the rod is the right size for your shower.
- When choosing a shower curtain rod, consider the type of shower you have. If you have a glass shower enclosure, you will need a rod that is specifically designed for glass.
- If you have a bathtub, you can use a tension rod or a fixed rod. A tension rod is a good option if you do not want to drill holes in your walls.
- When hanging your shower curtain, make sure that it is long enough to cover the entire shower opening. This will help to keep water from splashing out of the shower.
- If you have a shower curtain with a liner, make sure that the liner is also long enough to cover the entire shower opening.
- To keep your shower curtain rod clean, wipe it down with a damp cloth after each use.
- If your shower curtain rod becomes rusty, you can clean it with a mixture of vinegar and water. Simply soak the rod in the mixture for a few hours, then scrub it clean with a brush.
FAQ
How do you unlock a shower curtain rod?
To unlock a shower curtain rod, you’ll need to locate the screws that hold it in place. Use an appropriate screwdriver to loosen the screws and pull out the rod. If it is stuck in place, use a mallet or hammer to gently knock it free. Clean any rust or dirt off the rod before reinstalling it with your new shower curtain.
How do you remove a curtain rod from brackets?
To remove a curtain rod from its brackets, start by unscrewing the set screws that are holding the rod in place. Once they are loosened, carefully pull out the rod. If it is stuck, use a rubber mallet or hammer to gently tap it free. Finally, clean up any rust or dirt buildup before reinstalling your new rod!
How do you fix an extendable curtain rod?
To fix an extendable curtain rod, start by inspecting the rod for any visible damage or wear. Check for loose screws and tighten them if needed. If the rod has broken or bent parts, replace them with new parts from a hardware store. Make sure you observe the same size and shape as the existing parts. Finally, securely reinstall the rod in its brackets and test it out to make sure it’s working properly.
How do I find the screws that hold the shower curtain rod in place?
The screws that hold the shower curtain rod in place are usually located underneath the caps or trim pieces at either end of the rod. To find them, carefully remove these caps or trim pieces and take a look. These screws can sometimes be difficult to access so use caution when removing them. Once you have located them, you can unscrew and remove the shower curtain rod.
What do I do with the old shower curtain rod?
You can discard the old shower curtain rod.
How do I install a new shower curtain rod?
To install a new shower curtain rod, simply reverse the steps above.
What if I have a glass shower enclosure?
If you have a glass shower enclosure, you will need a rod that is specifically designed for glass. These rods have rubber or plastic ends that will not scratch the glass.
What if I do not want to drill holes in my walls?
If you do not want to drill holes in your walls, you can use a tension rod. These rods expand to fit the width of your shower opening and do not require any tools to install.
What if the shower curtain rod is stuck?
If the shower curtain rod is stuck, you can try using a lubricant such as WD-40 to help loosen it. Simply spray the lubricant on the screws and let it sit for a few minutes before trying to loosen them again.
What if the shower curtain rod is damaged?
If the shower curtain rod is damaged, you will need to replace it. Be sure to measure the width of your shower opening before you purchase a new rod.
What if I am not comfortable removing the shower curtain rod myself?
If you are not comfortable removing the shower curtain rod yourself, you can consult with a professional. A plumber or handyman can easily remove the rod for you.
What if I have a question that is not answered here?
If you have a question that is not answered here, you can consult with a professional.
Conclusion
Removing a fixed shower curtain rod yourself is a cost-effective and fulfilling way to revitalize your bathroom. You can follow the steps mentioned above without much difficulty and you’ll likely discover why homeowner DIY projects provide an avenue for creativity and learning about your home. Additionally, by taking on this task yourself, you can customize the look of your home and give it a more modern touch with a stylish new shower curtain rod that looks perfect in its new space.
If you want to undertake this project today, make sure you assess your resources, gather the proper tools, and read through the steps carefully before delving into the job head-on. Remember to be careful and reach out to professionals if needed for safety first! With a bit of patience and care, you’ll soon have a new shower curtain rod that is perfectly tailored to fit your home in no time! So what are you waiting for? Get started on removing your fixed shower curtain rod today!

I am Stacy Roberts, an experienced curtains expert. I spend most of my time writing about curtain design for various magazines and websites, including writing many blog posts on the topic for Homepicks24.com. I love helping people find the perfect curtains for their homes and take great pride in my work. When I'm not writing or helping people choose curtains, I enjoy spending time with my wife and two young children. I also love playing tennis and going to the beach. I believe that having a beautiful home with well-chosen curtains is essential to creating a special atmosphere of comfort and serenity, and thus I strive to help people find the right window treatment for their homes.