How to Install Curtain Rods in Drywall: A Comprehensive Guide
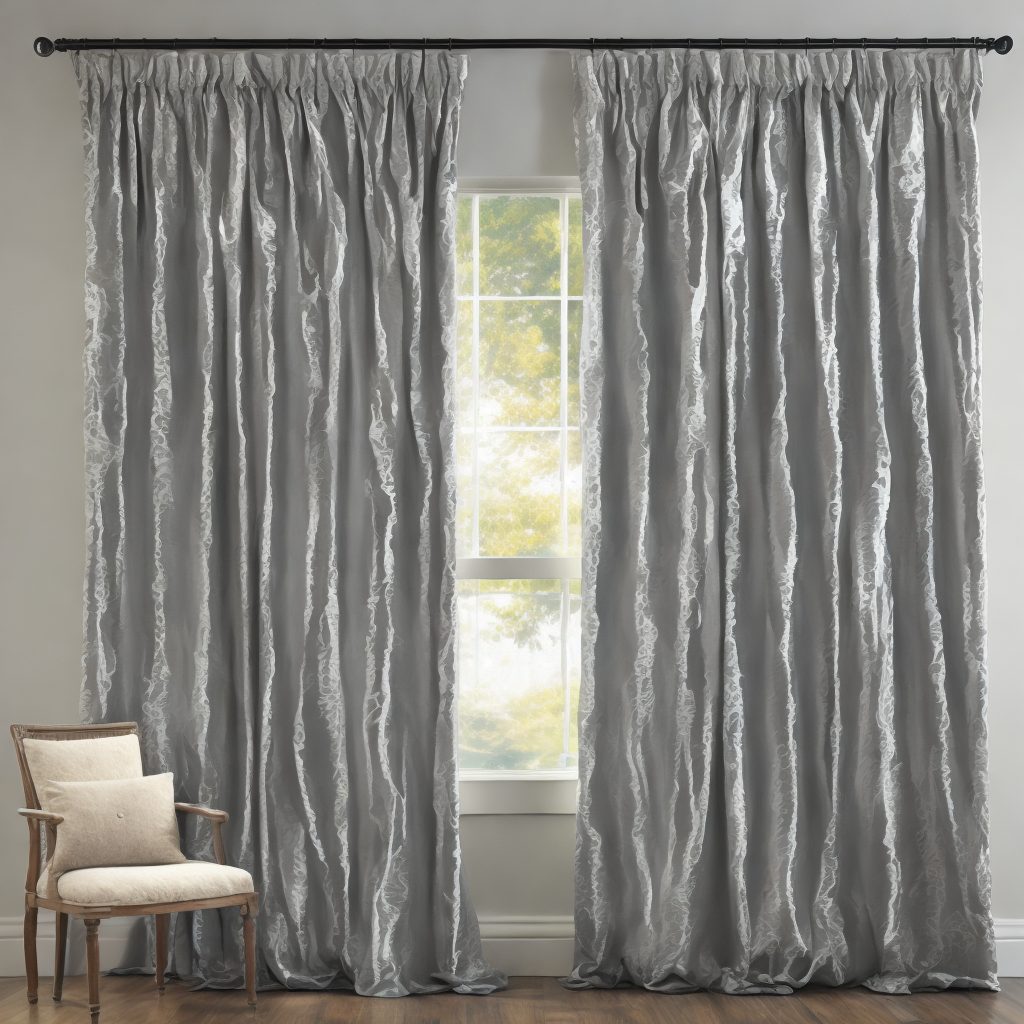
There’s a certain magic in hanging curtains, turning a house into a home with the cozy ambiance they bring. But the unsung hero of this transformation? The humble curtain rod. This overlooked piece of hardware holds great importance, serving as the backbone to your drapes, and playing a decisive role in the overall aesthetic of your space.
Preparing to install curtain rods may seem to be a daunting task initially, especially if you’re dealing with drywall. But fret not! With the right tools, some patience, and this comprehensive guide at your side, you’ll be hanging those curtains like a pro in no time. So, roll up those sleeves because it’s time to embark on an exciting DIY journey that will not only enhance your interior décor but also equip you with a handy new skill. Let’s get those curtain rods up!
How to Install Curtain Rods in Drywall
Gathering Your Tools and Materials
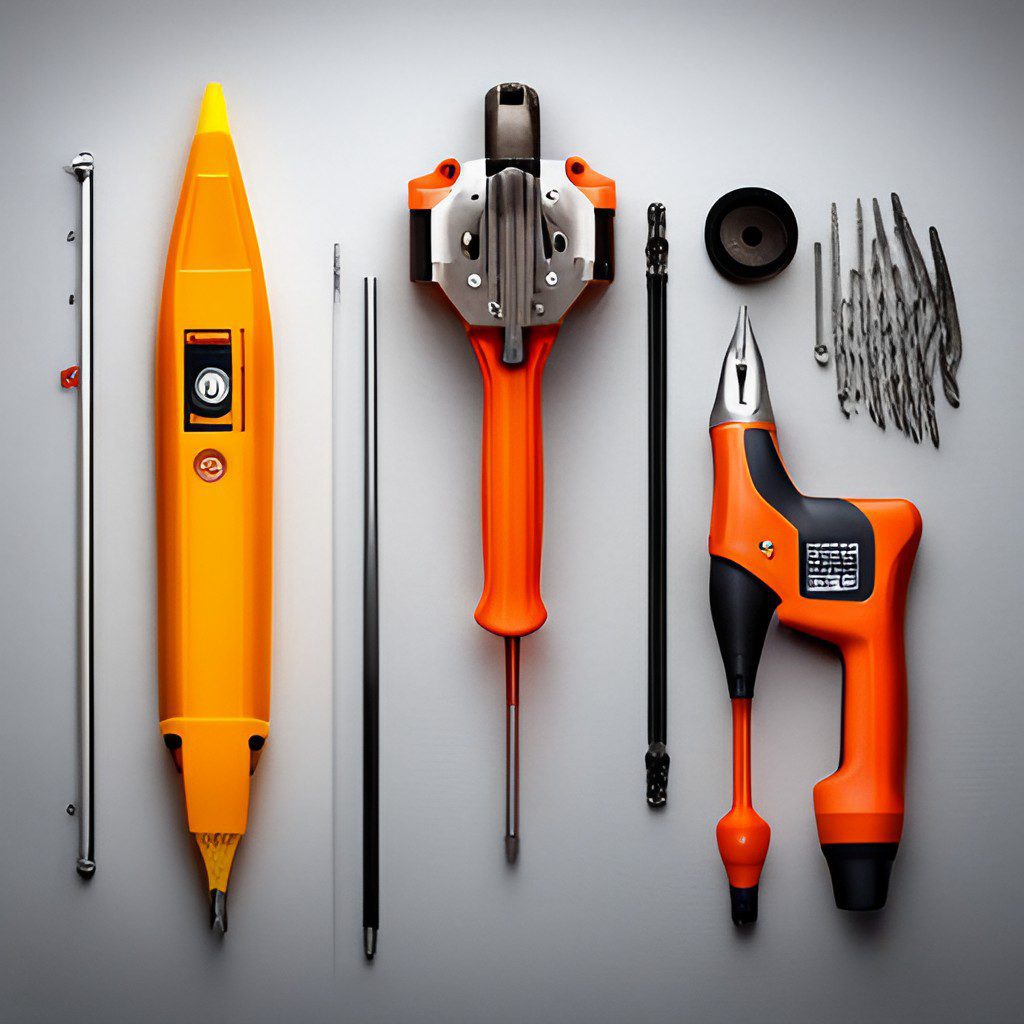
Before we dive headfirst into the installation process, we need to make sure we have all our ducks in a row. This means gathering all the necessary tools and materials. To ensure a smooth installation, here are the tools you’ll need:
- Tape measure
- Stud finder
- Pencil
- Drill
- Screwdriver
Now that we’ve got our tools sorted, let’s talk about the elephant in the room the curtain rod. There are several types of curtain rods, and the one you choose depends on your personal preference and the weight of your curtains.
- Standard rods
- Tension rods
- Decorative rods
- Traverse rods
Choosing the Right Location
The first step in choosing the right location for your curtain rods involves accurate measurement. Start by deciding how high above your window you want the curtains to hang. A common trick is to mount the rod 4-6 inches above the window frame this gives an illusion of height and makes your windows appear taller than they really are. Use your tape measure to determine this distance and mark the spot with your pencil.
Let’s focus on the width. If you want your curtains to fully clear your windows when they’re open, extend the rod 3-6 inches beyond the window frame on each side. This will allow ample space for your curtains to hang without obstructing the window. Again, use your tape measure and pencil to mark these points.
While measuring, be mindful of a few common mistakes. Never guess or estimate measurements always use a tape measure for accuracy. And don’t forget to use a level to ensure your marks are straight. There’s nothing more frustrating than a crooked curtain rod!
Be careful not to mount your rods too close to the ceiling or too far from the window. Hanging rods too high might leave a gap between the top of your curtains and the window frame while placing them too far from the window might make your windows look oddly placed.
The key to a successful installation is precise measurement and careful placement. So take your time, double check your measurements, and avoid these common mistakes, and you’ll have perfectly placed curtain rods!
Finding Wall Studs
Identifying the location of wall studs is a pivotal part of the process since it’s these studs that will provide the sturdy support needed for your curtain rods. Luckily, this is a simple task if you’re armed with a stud finder, a handy little device that locates the studs behind your drywall.
Using a Stud Finder
Start by turning on your stud finder and placing it on the wall. As you move the device horizontally across the wall’s surface, it will alert you (typically with a beep or light) when it senses a wall stud.
Be sure to move your stud finder slowly rushing can lead to inaccurate results. Once the stud finder alerts you to a stud, mark this spot lightly with your pencil. Repeat this process to locate all the studs where you’ll be mounting your curtain rods.
Alternative Methods for Locating Studs

If you don’t have a stud finder on hand, don’t worry! There are a couple of time tested alternative methods you can use. One option is the ‘knocking’ method. By simply knocking on the wall and listening to the sound, you can hear the difference between the hollow areas and where studs provide solid backing.
The knock will sound more solid and less echoey where a stud is present. Another method is looking for outlets or switches, as these are typically attached to a stud. The stud will likely be on one side or the other of the outlet or switch.
Marking the Mounting Points
When marking the mounting points for your curtain rod brackets, there are a few key things to consider to ensure a successful installation.
Proper Spacing and Height Considerations
For a single curtain rod, the brackets should ideally be placed at the two extreme ends. However, for a long curtain rod or a heavy curtain, you may need additional brackets for support.
In this case, evenly space your brackets along the rod. The typical height for mounting curtain rods is 4 to 6 inches above the window frame, but this may vary depending on your window’s size and style.
Marking for Multiple Curtain Rod Brackets
To mark the mounting points for multiple brackets, begin by measuring the length of your curtain rod. Divide this measurement by the number of brackets to determine the spacing between each. Be sure to mark the exact spot where each bracket will go, using a pencil for precise markings. Remember, the key to a successful installation is careful and accurate marking.
Once you’ve marked the mounting points for all brackets, take a step back and visually check for alignment. If the markings look straight and evenly spaced, you’re ready to move on to the next step: drilling the holes for your brackets.
Selecting the Right Hardware
Choosing the right hardware for your curtain rod installation is crucial to ensure that your rods are both secure and capable of supporting the weight of your curtains. This is particularly important if the wall studs are not located at your ideal mounting points, necessitating the use of wall anchors.
Types of Wall Anchors
There are several types of wall anchors, each with its own strengths and uses.
- Plastic Expansion Anchors: These are the most common type and are perfect for light to medium loads. They work by expanding inside the wall when a screw is inserted.
- Self-Drilling Anchors: These are also known as EZ anchors. They are easy to install and good for medium loads.
- Molly Bolts: These are metal anchors that are perfect for heavy loads. They expand behind the drywall for a secure grip.
- Toggle Bolts: These are the strongest anchors and are ideal for heavy items. They work by using a spri
- ng-loaded toggle that expands behind the drywall.
The type of anchor you choose will depend on the weight of your curtains and the type of wall material (drywall, plaster, brick, etc.).
Weight-Bearing Capacity of Hardware
The weight-bearing capacity of your curtain rod hardware is determined by several factors, including the type of wall material, the type and size of the wall anchor used, and the size and material of the screws.
A standard-sized plastic expansion anchor and screw system in drywall can support up to 10 pounds, while a molly bolt can support up to 50 pounds. On the other hand, a toggle bolt can hold as much as 100 pounds or more. Always check the manufacturer’s guidelines for the exact weight capacity of your chosen hardware and ensure it’s suitable for your curtain weight.
When it comes to hanging curtain rods, the right hardware can make all the difference. It not only ensures that your curtains and rods are securely mounted, but it also prevents potential wall damage from overloaded hardware. So, make your choices wisely, and you’ll enjoy a hassle-free and successful curtain rod installation!
Drilling Holes
Before diving into the drilling process, it’s paramount to ensure we have the correct drill bit. Depending on the type of wall and the size of the screw or anchor, the drill bit size will vary. For drywall, I generally opt for a drill bit that’s slightly smaller than the width of the anchor. This allows the anchor to fit snugly into the hole, providing a secure grip.
When it comes to drilling into drywall, there’s a technique I apply to avoid any damage. I start by positioning the drill bit at the marked spot, holding the drill in a perpendicular position to the wall. This ensures that the hole will be drilled straight into the wall.
Pressing the trigger gently, I begin drilling slowly to prevent the drill bit from ‘wandering’ off the mark. Once the drill bit pierces the surface of the drywall, I increase the drilling speed until the hole is of the desired depth. Throughout the process, it’s crucial to apply steady pressure but avoid pushing too hard, as this could potentially damage the drywall. Remember, patience and precision are key to a successful drilling process.
Installing Wall Anchors

After drilling the holes, the next step is to insert the wall anchors. I grab an anchor and push it into the hole until it’s flush with the wall. If it’s a tight fit, I might use a rubber mallet to tap it lightly into position. However, it’s important to be gentle to avoid damaging the wall or the anchor itself.
Here’s a useful tip to prevent wall damage during installation: if you’re having difficulty getting the anchor into the hole, check the size of the hole. It might be too small. If that’s the case, I’d use a drill bit that’s one size larger to enlarge the hole. It’s always better to start with a smaller hole and gradually increase its size, rather than trying to force the anchor into a hole that’s too small. This approach minimizes the risk of damaging the drywall.
Once the anchors are firmly installed, I proceed to attach the brackets. Ensuring the bracket is aligned with the holes, I insert the screws into the anchors and then gently tighten them with a screwdriver. It’s crucial not to over tighten the screws as it could potentially damage the wall or anchors. Now, I’m ready to hang the curtain rod and curtains on these securely installed brackets. Remember, the key to a successful job is patience, precision, and the appropriate tools and hardware.
Mounting the Brackets

Attaching the brackets to the wall anchors requires careful positioning to ensure a secure and straight setup. Begin by placing the bracket over the installed wall anchor. Ensure that the screw holes in the bracket align perfectly with the holes in the wall anchor. Hold the bracket steady in this position and insert the screws through the holes in the bracket and into the wall anchor.
It’s advisable to use a screwdriver or power drill for this task, but remember to use a gentle touch to avoid over-tightening the screws, which could potentially damage the wall anchor or bracket. Repeat this process for each bracket, double checking the alignment with the markings made at the beginning of the installation process.
Once all the brackets are in place, you’re ready to mount the curtain rod onto these securely installed brackets. The successful positioning and attachment of brackets to the wall anchors are pivotal steps in ensuring a sturdy and stable curtain rod installation.
Securing the Curtain Rod
With the brackets securely in place, I now proceed to the final step of this process mounting the curtain rod on the brackets. I gently place the rod on the brackets, ensuring it fits securely into the bracket sockets. I take immense care during this stage, as a slight mishap could lead to the entire setup collapsing.
Now that the rod is resting on the brackets, the crucial task of ensuring the rod is level comes into play. I employ my trusty level tool for this task. Placing it on top of the rod, I check the bubble in the level. If it’s centered between the lines, it signifies the rod is level. If not, I make slight adjustments to the positioning of the rod until the tool confirms its level.
The satisfaction of seeing that centered bubble is unparalleled it confirms the successful installation of the curtain rod. I now have a level, secure, and properly installed curtain rod that’s ready to hold my curtains. The process requires a bit of patience and precision, but the end result is undoubtedly worth the effort.
Frequently Asked Questions
How do I determine the right placement for my curtain rods?
Measure the desired height for your curtain rod above the window, and mark the wall with a pencil. Use a level to ensure the marks are straight and evenly spaced on both sides of the window.
What should I do if I can’t find a wall stud for support?
If you can’t locate a wall stud, you can use wall anchors. These are typically provided with your curtain rod hardware. Follow the manufacturer’s instructions for installing them in the drywall.
Do I need to pre-drill holes in the drywall for the screws?
It’s a good practice to pre-drill small pilot holes to prevent the drywall from cracking when you insert the screws. Use a drill bit slightly smaller in diameter than the screws you are using.
How do I attach the brackets to the wall?
Hold the brackets against the marked spots on the wall and insert screws through the bracket holes and into the pilot holes you drilled. Tighten them securely.
Can I install curtain rods on a plaster wall in the same way as drywall?
The installation process is similar, but plaster walls may require special anchors or screws designed for plaster. Be sure to choose the appropriate hardware and follow the same steps.
How do I attach the curtain rod to the brackets?
Most curtain rods have removable finials at the ends. Remove the finials, slide the rod through the brackets, and then replace the finials.
What if my curtain rod is sagging in the middle?
You may need to install additional support brackets or a center support bracket for longer curtain rods. This will help distribute the weight and prevent sagging.
Are there any tips for a professional-looking installation?
Use a level to ensure the rod is straight, measure carefully for even placement, and choose the right hardware for your wall type. Make sure the brackets are securely attached to the wall, and the rod is level before hanging your curtains.
How far above the window should I install the curtain rod?
The general recommendation is to install the rod 4-6 inches above the window frame to allow for more light and a visually elongated window appearance. However, the placement can vary depending on your personal preference and the type of curtains you have.
What weight of curtains can drywall support?
Drywall can typically support standard curtain rods and lightweight curtains. If you have heavier curtains or rods, it’s essential to use wall anchors or consider alternative installation methods, like attaching the rod to wall studs.
Conclusion
Well, folks, after my curtain rod installation adventure, I can proudly say that I’ve learned two valuable life lessons: DIY isn’t always as easy as it looks on TV, and level is your new best friend (seriously, never let it out of your sight).
Installing curtain rods in drywall might seem like a walk in the park for some, but for me, it was a thrilling rollercoaster ride filled with measuring mishaps, screwdriver acrobatics, and the occasional “Whoops, that’s not straight!” shout from yours truly.
But hey, I emerged victorious in the end, with curtains that (mostly) hang straight and a newfound appreciation for the unsung heroes of home improvement the humble wall anchors. So, if you’re ever feeling adventurous and want to embark on your own curtain rod conquest, just remember to keep that level close, laugh off your mishaps, and enjoy the journey. Who knew curtain rods could be such a source of amusement? Happy decorating, everyone!

I am Stacy Roberts, an experienced curtains expert. I spend most of my time writing about curtain design for various magazines and websites, including writing many blog posts on the topic for Homepicks24.com. I love helping people find the perfect curtains for their homes and take great pride in my work. When I'm not writing or helping people choose curtains, I enjoy spending time with my wife and two young children. I also love playing tennis and going to the beach. I believe that having a beautiful home with well-chosen curtains is essential to creating a special atmosphere of comfort and serenity, and thus I strive to help people find the right window treatment for their homes.