How To Hem A Curtain Without Sewing – Easy DIY Guide
Hemming a curtain without using a needle and thread may seem daunting, but it’s easier than you think. With the right approach, it can become a fun and creative indoor home decoration project that anyone can do. Not only does it save you from complicated sewing, but it also allows you to experiment with different styles and techniques. This guide will take you through the process of hemming your curtains without sewing, providing innovative curtain ideas and tips along the way. Whether you’re a DIY enthusiast looking for a new challenge or someone who wants to refresh the look of their living space, this method is an excellent solution.
Let’s embark on this journey to create customized, stylish curtains that perfectly match your aesthetic and privacy needs, all without using a sewing machine.
Why Choose No-Sew Methods: Advantages and Considerations
When it comes to hemming curtains without sewing, there are several advantages. First of all, if you don’t know how to sew or don’t have access to the tools required for this task, this method provides an easy solution. More importantly, it allows you to explore various styles, textures, and patterns. You can take on more intricate or creative projects with the help of excess material like fabric glue, double-sided tape, fusible webbing, and others. Moreover, it’s a faster process than sewing from scratch because you won’t need to measure and cut your materials like you would with a sewing machine.
Of course, certain considerations should be taken into account as well. When using fusible webbing or fabric glue, always remember to test it out on a swatch of your material first to ensure proper adherence. Additionally, if you’re seeking a long-lasting solution, this method might not be the best choice for your project as no-sew techniques generally aren’t as durable as traditional sewing.
The Necessity of Curtain Hemming in Indoor Home Decoration
No matter what kind of interior home decor style you’re aiming for, hemming curtains play a crucial role in achieving the desired results. Properly hung curtain panels not only ensure full window coverage but also add a touch of elegance and sophistication to any room. By taking the extra step to hem or alter your curtains, you can give them a more personalized look that seamlessly blends with the surroundings, creating a harmonious and visually appealing atmosphere.
This method is a fantastic option for those who prefer a custom touch without the need to learn sewing skills or opt for ready-made solutions. Moreover, it provides the opportunity to experiment with different materials or finishes, allowing you to create uniquely tailored curtains that boast the perfect texture, pattern, and color for your space, truly reflecting your style and taste.
Things You Will Need
To achieve a professional, seamless finish in your no-sew curtain hemming project, you’ll need a selection of specific tools. These tools are readily available at most craft stores, and investing in high-quality versions can make the process smoother and more enjoyable. Make sure to take note of the tools you use so that you can easily replicate the process next time.
Fabric Scissors
A good pair of fabric scissors is critical for clean, straight cuts. Look for ones that are specifically designed to cut fabric, as these will provide sharper, more accurate cuts. Using them on other materials can dull the blades a little bit, so it’s best to keep them reserved for fabric cutting to maintain their precision and ensure a proper seam allowance.
Measuring Tape

For precise measurements of your curtains and to determine the appropriate hem length, a flexible tape measure is an essential tool. A retractable one is easy to use and store. Make sure to measure the width of the curtain in inches for accuracy.
Fusible Webbing
This is a type of adhesive lining that is activated by heat. It comes in a strip or roll and is excellent for creating a no-sew hem. Ensure you choose a width that suits your curtain hem to maintain a clean line with the use of a curtain rod.
Fabric Glue
This can be used as an alternative to fusible webbing. It provides a strong bond, but keep in mind that drying time can vary and it might not be suitable for heavier fabrics. Another option is to use iron-on adhesive, which can also provide a strong bond and is easy to apply with an iron. For added stability, you can use paper backing with the iron-on adhesive.
Double-Sided Tape
Another adhesive option, double-sided tape, can be a quick and convenient choice for lighter fabrics or for temporarily positioning the hem before using a more permanent method. For added security, the tape can also be applied to the bottom of the curtain to prevent any slipping or movement.
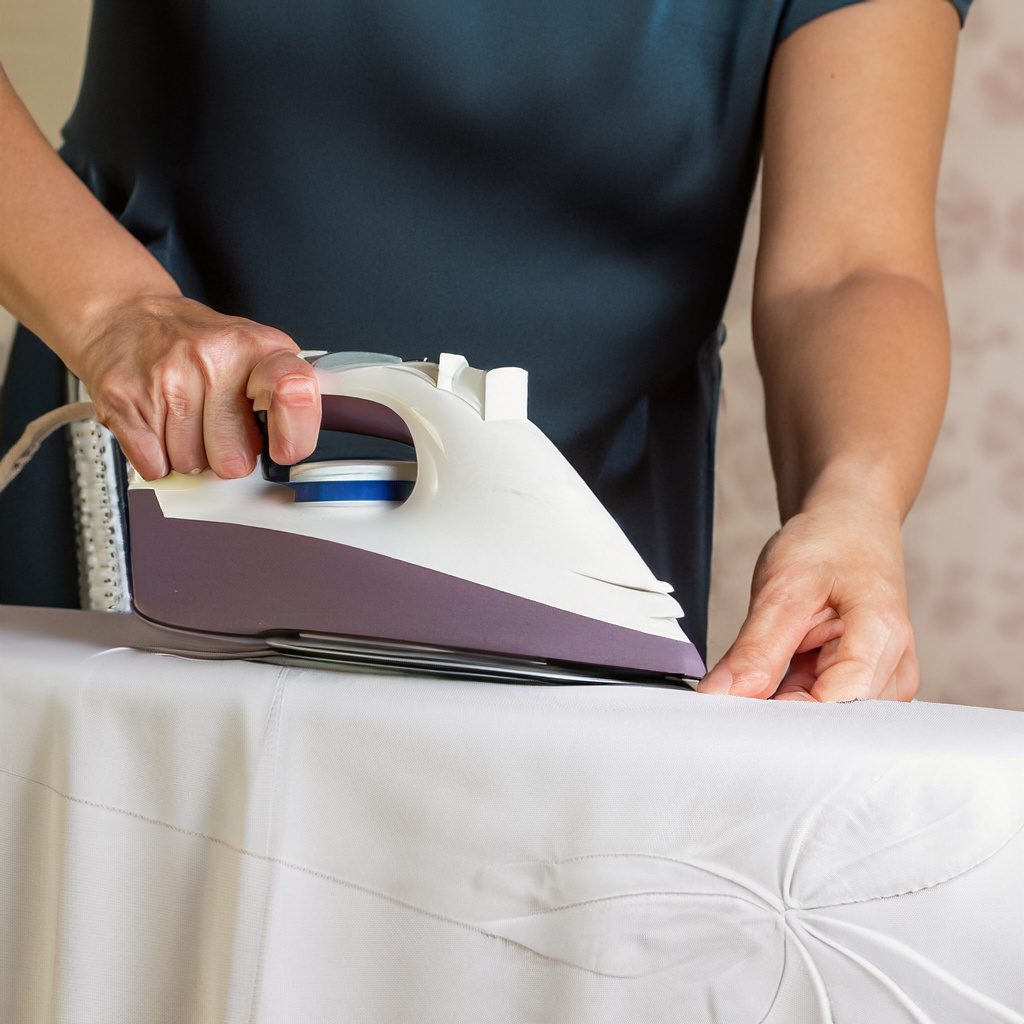
Iron and Ironing Board
These step-by-step instructions are necessary for activating the fusible webbing and smoothing out your fabric. A good iron can provide enough heat to create a strong bond, and an ironing board with adjustable heights can ensure comfort while working on the edge of the curtain.
Bias Binding
This optional tool can be useful to conceal the raw edge of your fabric, providing a neat and professional folded hem finish.
Remember, each curtain hemming project is unique, and you may not need all these tools for every project. Be sure to evaluate your needs based on the specifics of your curtain fabric and design.
Step-by-Step Guide about How To Hem A Curtain Without Sewing
To make the process as simple as possible, here is a more detailed, step-by-step guide to hemming your curtains without sewing. One option is to use fabric glue to create a clean-cut edge.
Step 1: Measure Your Curtains
To start hemming your curtains without a sewing machine, the first thing you need to do is measure them to the right length. This step is crucial because it will determine how much fabric you need to cut for the perfect length, especially if you want long curtains. You can use a ruler or measuring tape to take accurate measurements and make sure your curtains fit your windows perfectly. Start by hanging your curtains up as you would normally, making sure they are as straight and even as possible.
Next, measure from the top of where your curtains hang to the point where you want your curtains to end. This will help you avoid underestimating or overestimating the amount of fabric you need to remove, which can lead to uneven hems or curtains that are too short or too long. By taking accurate measurements, you’ll be able to create custom-sized curtains that perfectly match your aesthetic and privacy needs.
Step 2: Mark and Trim the Excess Fabric

After measuring your curtains and determining the desired length, it’s time to mark and trim the excess fabric. This step requires a few tools such as a fabric pencil or chalk and a sturdy pair of fabric scissors. Before you begin marking, make sure to iron the curtain to avoid any wrinkles or creases that could interfere with the marking process. Now, use the fabric pencil or chalk to mark a straight line where you will cut the excess fabric.
Make sure your line is straight and even all the way across to ensure a clean and neat finish. Once you’ve marked it out, take down your curtains and lay them flat on a large, even surface. Next, use your fabric scissors to carefully cut along the marked line, being cautious not to damage the remaining fabric. Make sure to cut in a straight line and avoid jagged edges to maintain a crisp hem. By following this method, you can create beautifully hemmed curtains without any sewing experience or a sewing machine.
Step 3: Prepare the Hem with Fusible Webbing or Fabric Glue
Once you’ve measured and marked the length of your curtain, it’s time to prepare the hem. One of the easiest ways to hem a curtain without sewing is by using fusible webbing or fabric glue. Fusible webbing is a type of adhesive that bonds to the fabric when heated, creating a sturdy and permanent seal. Fabric glue, on the other hand, creates a similar bond but without the need for heat. Both options are easy to use and can give your curtains a seamless and professional-looking finish.
If you’re using fusible webbing, start by unrolling the webbing and cutting a strip that matches the width of your curtain hem. Make sure to use a width that is appropriate for the weight of your fabric. Position the webbing on the wrong side of the curtain, aligning it with the edge where you want your new hem to be. Then, using a hot iron, press the webbing onto the fabric, applying heat for the recommended amount of time stated in the webbing instructions. Be careful not to overheat the fabric or leave the iron on the webbing for too long, as this can cause damage to your curtains.
If you’re using fabric glue, apply a thin, even line of glue along the edge of the fabric where you want your new hem to be. Make sure the glue is distributed evenly and covers the entire edge. Then, fold the excess fabric over the glue, pressing it down firmly to create a seal. Allow the glue to dry according to the manufacturer’s instructions before hanging your curtains.
Using fusible webbing or fabric glue to hem your curtains is an excellent option for those who are short on time or lack sewing skills. It’s a simple and effective solution that can give your curtains a professional finish without the need for expensive equipment or complicated techniques. So, whether you’re looking to update the look of your living space or just want to make a few adjustments to your curtains, give this method a try and see the difference it can make.
Step 4: Fold and Iron the Hem
Once your adhesive is ready, carefully fold the raw edge of your fabric up to meet the adhesive, creating a neat and secure hem. If you’re using fusible webbing, you’ll need to use an iron to activate the adhesive – make sure to follow the instructions on the webbing’s packaging for the correct temperature and ironing time to ensure a strong bond.
On the other hand, if you’re using fabric glue, patiently wait for the glue to dry completely before moving on to the next step, ensuring a durable and long-lasting result. Taking these extra steps will ensure that your fabric hem is not only functional but also aesthetically pleasing.
Step 5: Secure the Hem
Once the hem is neatly folded and the adhesive is dry or activated, it’s time to ensure that it’s secure. Carefully turn your curtain over so that the right side, or the side that faces outward when hung, is facing up. If you used fusible webbing, it should be securely adhered to the fabric at this point.
However, if you opted for fabric glue, you might need to add a bit more to the inside of the hem to ensure that it’s secure. You can do this by using a small brush to apply the glue along the edges of the hem, ensuring that it’s evenly distributed. Once the glue is applied, gently press down on the fabric to ensure that it’s evenly distributed and smooth.
It’s crucial to remember that this step aims to have a clean-looking curtain with a secure hem that won’t easily fall apart. By securing the hem correctly, you not only prolong the life of your curtains but also add to their overall visual appeal. It’s essential to allow the glue or webbing to set correctly and follow the manufacturer’s instructions to avoid any mishaps. After you’re satisfied that the hem is secure and the adhesive has set, your curtains are ready to be hung and admired. Embrace the satisfaction that comes from completing your first no-sew home décor project, and revel in your newfound creative skills.
Step 6: Press the Hem Flat
After securing your hem using hemming tape, it’s time to give it a polished finish by pressing it flat. Heat your iron to a temperature appropriate for your curtain fabric and gently press the iron onto the hem, starting from one end and working your way to the other. If your curtain is made of delicate fabric, use a pressing cloth to prevent damage.
Pressing the hem flat not only gives your curtain a neat appearance but also helps it hang correctly when it’s rehung. Additionally, it’s essential to ensure the hem is completely flat to avoid any puckering or folding. By taking the time to press your sew-free them properly, you’ll be proud to add your stylish new curtains to any living space.
Additional Tips and Tricks to Keep in Mind
- When it comes to hemming your curtains without sewing, there are several important things to keep in mind. First and foremost, always make sure to pre-shrink any fabric that you plan on using before starting the process. This step is crucial as it helps prevent any unpleasant surprises down the line, such as shrinkage or warping, which could ruin all your hard work.
- In addition to pre-shrinking, taking accurate measurements is another crucial aspect to achieve a professional-looking result. By carefully measuring the length and width of your curtains, you can ensure that they will fit perfectly and hang beautifully in your space.
- As you press your hems, using pins is a great technique to achieve sharp and crisp edges. By pinning the fabric in place, you can maintain control over the hem and ensure that it stays in position while you work.
- Lastly, when using adhesive products, it’s essential to read and follow the instructions carefully. Adhesives can be a convenient alternative to sewing, but it’s important to understand how to use them correctly and safely.
By keeping these important tips in mind, you can confidently hem your curtains without sewing and achieve a beautiful finished look that will enhance the aesthetics of your space.
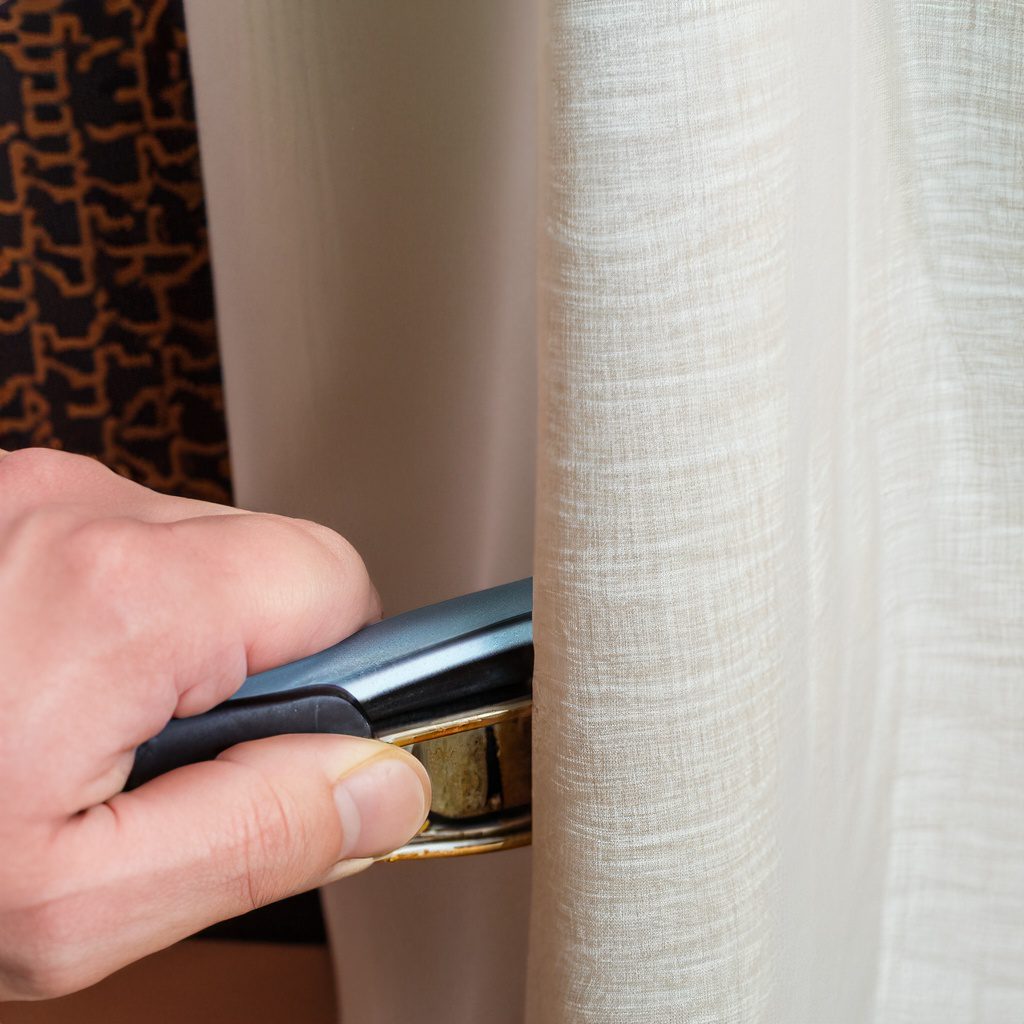
Alternatives to Hemming a Curtain Without Sewing
Although hemming curtains without sewing is one of the easiest methods for altering them, there are other ways to achieve the same results. If you’re interested in trying different techniques, consider using snap tape or fabric washi tape.
These products allow you to easily adhere your hem in place without using scissors or an iron. You can also opt for a no-sew Velcro hem, which is great for those who want a quick and easy solution. The advantage of this method is that it’s 100% reversible, so you can easily change the length of your curtains as needed.
No matter which method you choose, it’s important to remember that the key to success is proper preparation. Taking accurate measurements, pre-shrinking fabric, and using the right tools are essential for achieving the best results. If you follow these steps and take your time with each project, you can easily create custom window treatments without sewing a single stitch!
Materials You Can Use Instead of Traditional Fabric
For a truly unique look, try using unconventional materials instead of traditional curtain fabric. A popular choice is to use decorative paper, such as scrapbooking paper or gift wrap. This type of material is lightweight and often comes in a variety of colors and patterns so you can easily achieve an eye-catching, one-of-a-kind look. Other unconventional materials that work great for no-sew curtain hems include felt, burlap, ribbon, and lace. With a little creativity, you can easily customize your curtains to reflect your style!
If you’re looking for an even more dramatic effect, consider using fabric paint or fabric markers to create designs directly onto the material. This is an especially popular choice for kids’ rooms as it allows them to create custom artwork on their windows while still achieving a professional look. Whether you decide to go for bold, bright colors or subtle, muted hues, fabric paints, and markers are a great way to add some extra personality to your curtains!
Frequently Asked Question
Can I reverse non-sewing hemming methods?
Yes, most non-sewing hemming methods can be reversed if you make a mistake or need to change the length of your curtains. For example, glue and webbing tapes can often be removed without damaging the fabric. Hem tape is another great option as it’s 100% reversible, so you can easily adjust the length of your curtains as needed.
Will non-sewn hems hold up in the long term?
Yes, non-sewn hemming methods can be just as durable and long-lasting as traditional sewing. When using adhesive products or tapes, it’s important to follow the manufacturer’s instructions carefully and allow the glue or webbing to set before hanging your curtains.
Which non-sewing method is best for delicate fabrics?
For delicate fabrics, it’s best to avoid methods that require heat or heat-activated adhesives. Instead, opt for hem tapes and fabric washi tape as they can be applied without any direct contact with heat and won’t damage your material. Additionally, these products are easily removable if you need to make adjustments down the line.
Can I use non-sewing hemming for layered curtains?
Yes, non-sewing hemming methods can be used for layered curtains as well. If you opt for using glue or webbing tape, it’s important to apply a thin layer of adhesive between the two layers to ensure they stay securely in place.
What if I want to adjust the curtain length later?
If you want to adjust the length of your curtains later on, it’s best to opt for a non-sewing method that is 100% reversible. Hem tape and fabric washi tape are great options as they can be removed without leaving any residue or damaging the fabric.
Is there an easy way to hem curtains without using pins?
Yes, if you don’t want to use pins to hold your hems in place, consider using weights or clips instead. Place a weight at the end of the hem and clip it securely, then pull the sides of the curtain taut until everything is in position. This method allows you to keep the fabric securely in place without having to use pins.
How do you fix curtains that are too long?
The easiest way to fix curtains that are too long is to hem them without sewing. Measure the length of your curtains, then press a hem into place using an iron and pins or adhesive products. Once everything is in position, you can finish off with a professional-looking topstitch or use snap tape or fabric washi tape for a no-sew solution.
Conclusion
Hemming a curtain without sewing is an easy and cost-effective way to customize your window treatment. By following these simple steps and tips, you can create a unique, eye-catching effect that will give your space an extra touch of personality. Whether you’re looking for a modern, minimalistic look or something more ornate and intricate, this method ensures that your curtains fit perfectly into their surroundings and are a perfect reflection of your style. With the right tools and know-how, achieving a professional finish for your curtains has never been easier.
Now that you know how to create beautiful, no-sew curtain hems, try experimenting with different materials and techniques to find the perfect look for your space. Embellishments such as trims, ruffles, and pleats can help you create a truly unique design that will make your curtains an attention-grabbing statement piece. Have fun with it! There are endless possibilities when it comes to creating customized looks without having to use a needle and thread. So get creative and don’t be afraid to experiment – you never know what beautiful results you might achieve!

I am Stacy Roberts, an experienced curtains expert. I spend most of my time writing about curtain design for various magazines and websites, including writing many blog posts on the topic for Homepicks24.com. I love helping people find the perfect curtains for their homes and take great pride in my work. When I'm not writing or helping people choose curtains, I enjoy spending time with my wife and two young children. I also love playing tennis and going to the beach. I believe that having a beautiful home with well-chosen curtains is essential to creating a special atmosphere of comfort and serenity, and thus I strive to help people find the right window treatment for their homes.