The Ultimate Guide: How to Fix a Curtain Rod That Keeps Falling
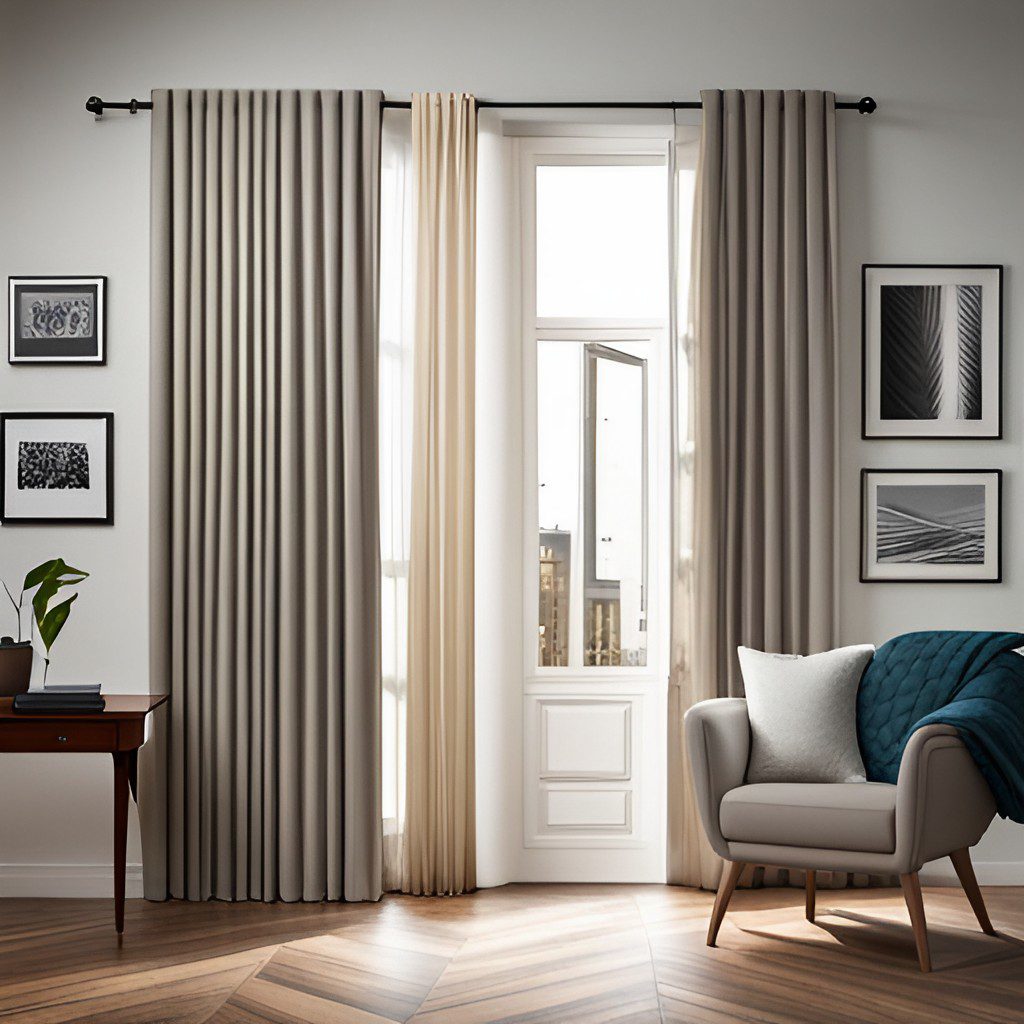
Imagine this: one day, you’re hosting an important gathering at your home. Everything is perfect – the food, the ambiance, the playlist. Just as your guests are settling in, CRASH!
Your curtain rod takes a nosedive to the floor, bringing your perfectly chosen curtains down with it. A wave of embarrassment washes over you.
You laugh it off, but deep down, you know how important a stable curtain rod is to your home’s aesthetics and functionality. It not only adds to the visual appeal, but it also provides privacy and controls the amount of natural light.
Well, fret not! We’ve all been there. And that’s why I’ve created this comprehensive guide on How to Fix a Curtain Rod That Keeps Falling.
I’ve broken it down into simple, easy-to-follow steps so that you don’t have to worry about your curtain rod stealing the show at your next gathering. Strap in and let’s get that curtain rod back in its place, once and for all.
Identifying The Problem
There are some common causes of a falling curtain rod :
Heavy Curtains
The weight of your curtains could be one significant factor that’s causing your curtain rod to fall. If your curtains are heavy, they might be too much for the rod to bear, causing it to sag, bend, or even fall off entirely. Make sure to choose a curtain rod that can withstand the weight of your curtains.
If your curtains are exceptionally heavy, you may need to consider adding extra supports or switching to a stronger rod altogether.
Poor Installation
The way your curtain rod has been installed can greatly affect its stability. If it’s not correctly mounted, it may lack the support it needs to stay in place.
The brackets need to be securely fastened to the wall, and the rod has to sit snugly within the brackets. Screws that are too small, not drilled in deep enough, or drilled into a weak part of the wall, can cause your rod to fall.
Worn-out Hardware
Like all things, curtain rods and their hardware aren’t immune to wear and tear. Over time, screws can loosen, brackets can warp, and rods can weaken. Regularly check the hardware components of your curtain rod setup.
If you notice any signs of damage, such as rust on screws or cracks in the brackets, it may be time to replace these components to prevent your rod from falling.
Gathering Tools and Materials
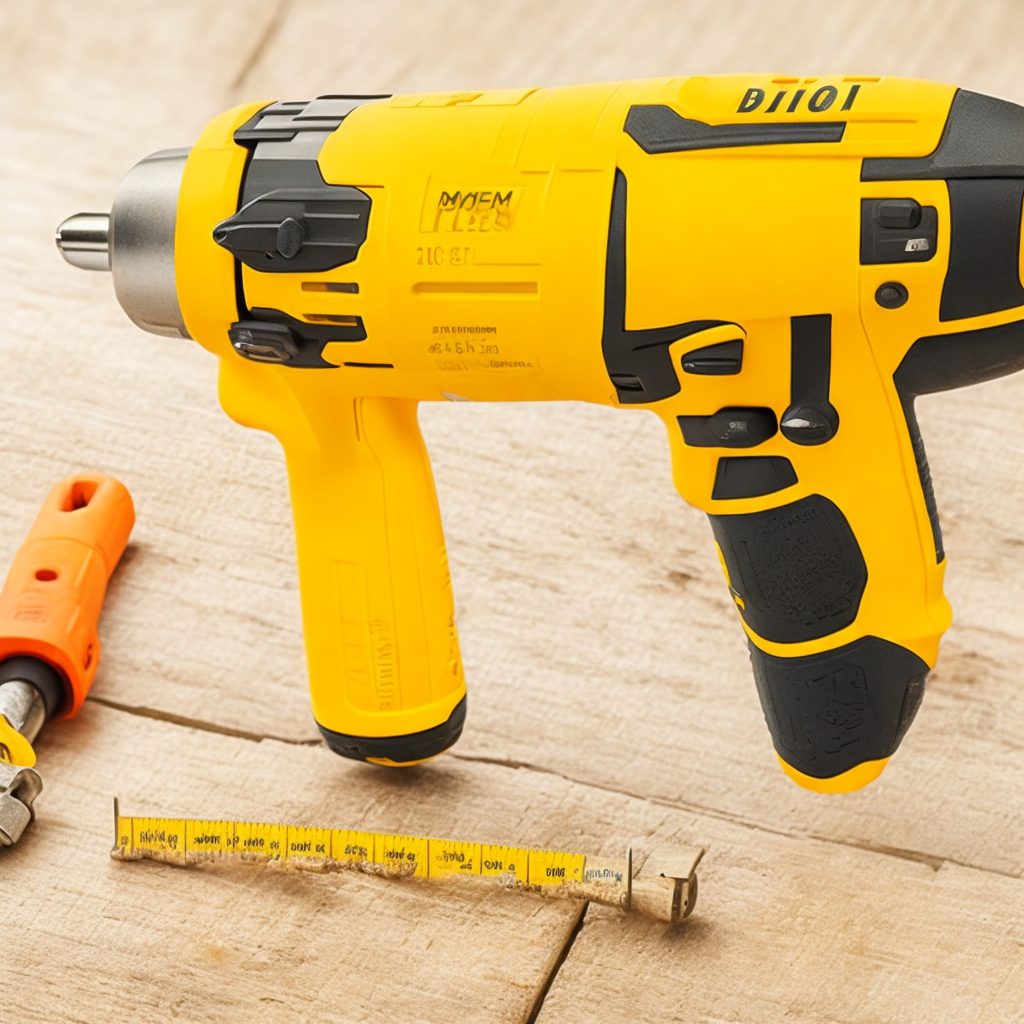
Before you embark on your curtain rod-fixing journey, it’s crucial to have the right tools at hand. Here are some essential tools you might need:
- Screwdriver
- Drill
- Level
- Tape Measure
Types of Curtain Rods
Choosing the right kind of curtain rod is vital for a sustainable setup. Here are some types you might consider:
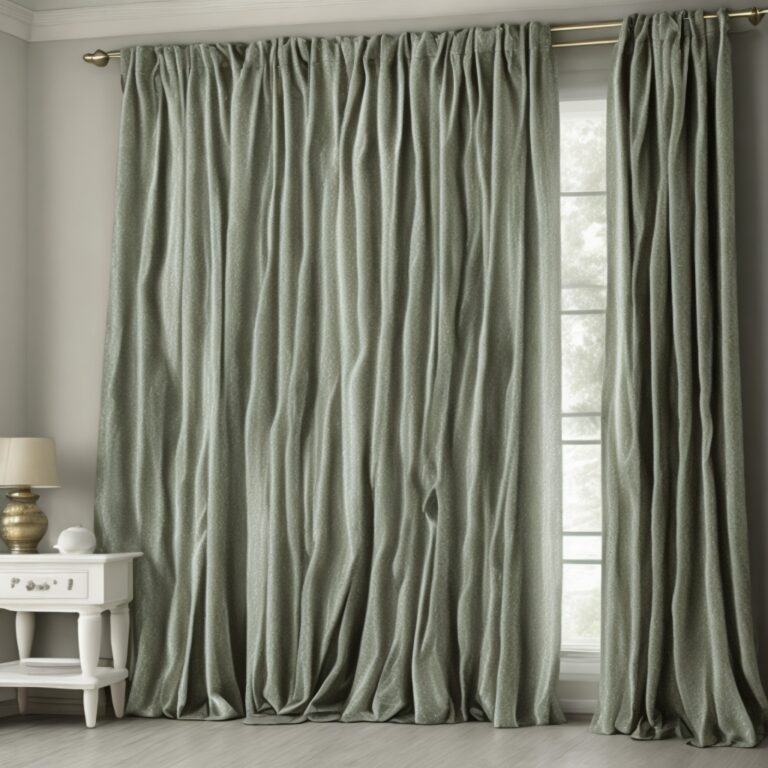
Standard Curtain Rods

These rods are designed to be simple, lightweight, and perfect for light to medium-weight curtains. With their sleek and minimalistic design, they effortlessly blend into any decor style.
They are typically paired with adjustable brackets, providing flexibility in mounting options.
Whether you prefer to mount them on the wall or ceiling, these rods offer easy installation and hassle-free curtain hanging. Plus, their durability ensures long-lasting use, making them a reliable choice for your window treatment needs.
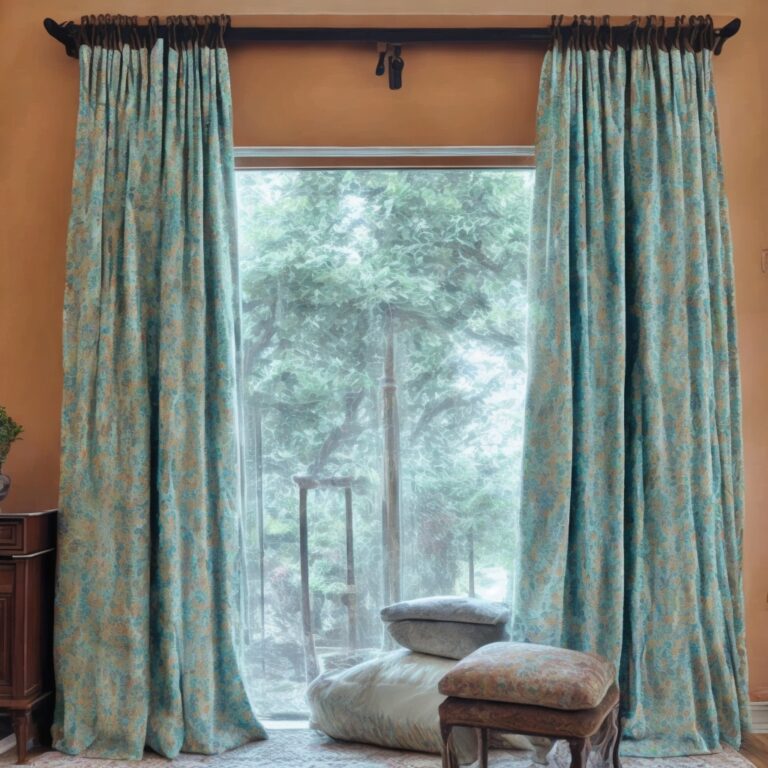
Decorative Curtain Rods
These amazing rods are crafted with beautiful ornamental end pieces, bringing an elegant touch to your window treatment.
With a wide variety of styles and finishes available, you’ll find the perfect rod to complement your decor effortlessly. These versatile rods are specially designed for medium to heavy curtains, ensuring excellent support and long-lasting durability.
To maintain stability, they require sturdy, fixed brackets that can handle the weight of your curtains while adding a touch of sophistication to your space.
Tension Rods
These rods are ingeniously designed to use spring tension, allowing them to effortlessly stay in place between two walls. With their unique mechanism, they eliminate the need for brackets or hardware, providing a seamless and hassle-free installation experience.
While they are perfect for light curtains or sheer panels, their versatility allows you to easily adjust and customize your window treatments. So, you can effortlessly create a stylish and functional space that reflects your unique taste and personality.
Step-by-step guide on How to Fix a Curtain Rod That Keeps Falling
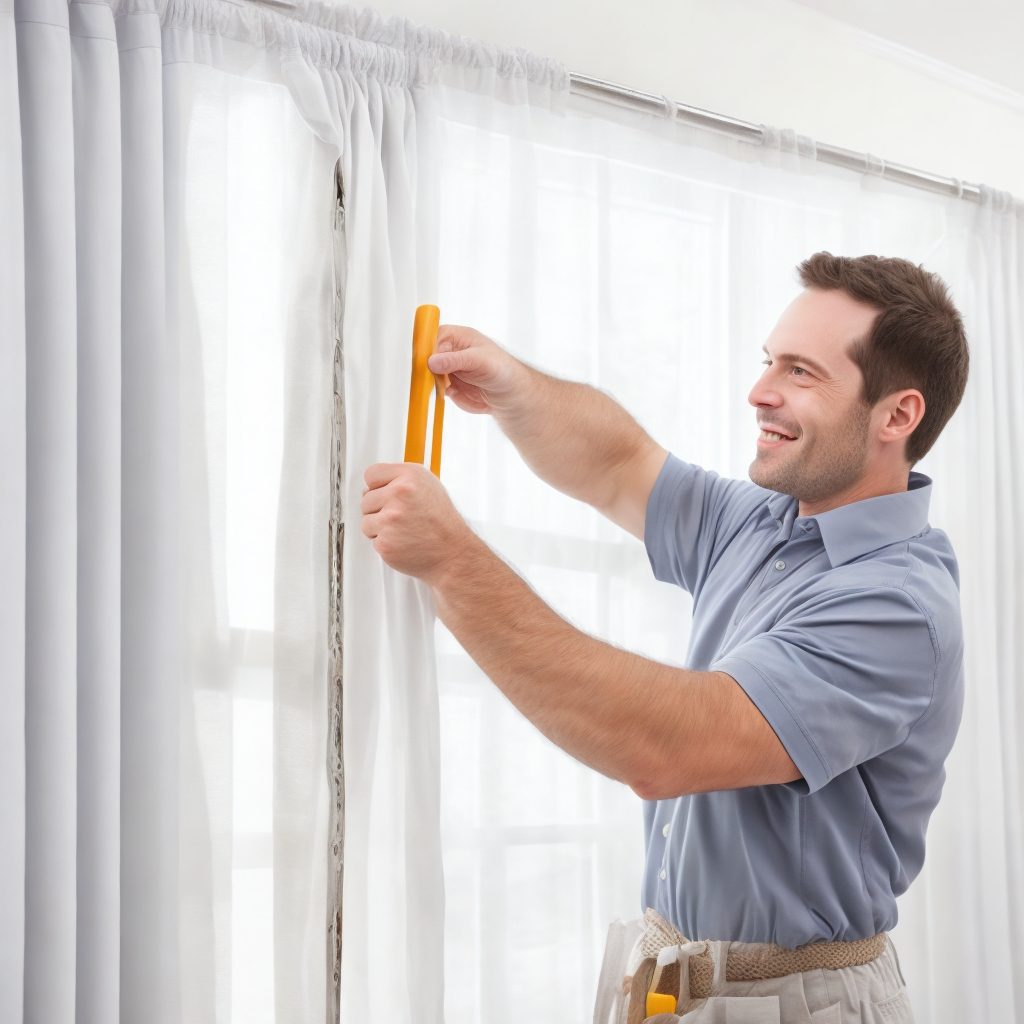
Step 1: Removing the Curtain Rod
The first step in fixing a curtain rod that keeps falling is to remove it from its brackets carefully. Grasp the rod at both ends and lift it out of the brackets.
If your curtains are heavy, you may need an extra pair of hands to help with this process. Remember to be gentle to avoid causing any further damage to the rod or the brackets. Once the rod is free, carefully remove the curtains and set them aside.
Step 2: Assessing the Brackets
Upon removing the curtain rod, my next task is to closely inspect the brackets for any signs of damage. Using a flashlight, I examine each bracket, paying special attention to any visible cracks, rust, or other signs of wear and tear.
I also check if the brackets are loose or wobbly, as this can also lead to a falling curtain rod. Furthermore, I evaluate the wall area around the brackets.
If there are any loose wall materials or large holes left by previous screws, this could be another contributing factor to the instability of the curtain rod. It’s essential to not overlook these aspects in the inspection process because even the smallest damage could potentially cause the curtain rod to fall.
Step 3: Repair vs. Replacement
The determination of whether to repair or replace the brackets hinges on the extent of the damage observed. If the brackets are slightly loose, it might simply be a matter of tightening the screws to secure them back into place.
In cases where the brackets show minor signs of wear, such as small cracks or rusting, a quick fix might be possible. For instance, rust can be scrubbed off and the bracket spot painted, or a small crack might be filled in and smoothed over.
However, if the brackets are significantly damaged large cracks, severe rusting, or warping it’s time for a replacement. Trying to salvage heavily damaged brackets is not only ineffective but can also pose safety risks. If the integrity of the brackets is compromised, they won’t be able to hold the rod securely, leading to repeated falls and potential harm to your wall or window treatments.
As for budget considerations, while repair is generally the cheaper option, it’s important to factor in the potential cost of repeated repairs. If the problem is chronic and requires constant fixing, the cost and effort could add up, making replacement a more economically sound decision in the long run.
When purchasing new brackets, it’s essential to balance quality and cost investing in good quality brackets can save you from frequent replacements and provide better support for your curtain rod.
Step 4: Reinforcing the Wall
Locating the wall studs is the next crucial step in this process. A wall stud is a vertical framing piece in a wall’s structure, providing a sturdy base to secure the brackets.
I use a stud finder an electronic device that indicates the stud’s location when placed against the wall surface to help me with this. Once the stud finder detects a stud, I mark the spot with a pencil, ensuring I have a visible reference when it’s time to mount the brackets.
Using Anchors and Toggle Bolts
If the optimal position for the curtain rod brackets doesn’t align with a wall stud, I turn to anchors and toggle bolts. These tools expand against the back of the drywall for a secure grip, providing the necessary support when studs aren’t available.
I start by drilling a hole into the wall where I plan to install the bracket, then I insert the anchor into this hole. For heavier curtains, I use toggle bolts for added support. To do this, I insert the toggle bolt through the bracket hole and then into the wall, tightening it until it’s secure.
Tips for Plaster Walls
Fixing curtain rods on plaster walls can be a bit tricky, as they’re more likely to crumble under pressure compared to drywall. Hence, when I work with plaster walls, I take extra care to minimize damage. I use a masonry bit to drill holes into plaster, as it reduces the likelihood of chipping.
If I’m unable to find a stud, I use toggle bolts instead of plastic anchors, as they provide better support in plaster walls. Finally, I always remember to drill a hole slightly smaller than the anchor or bolt size, ensuring a tight fit for better stability.
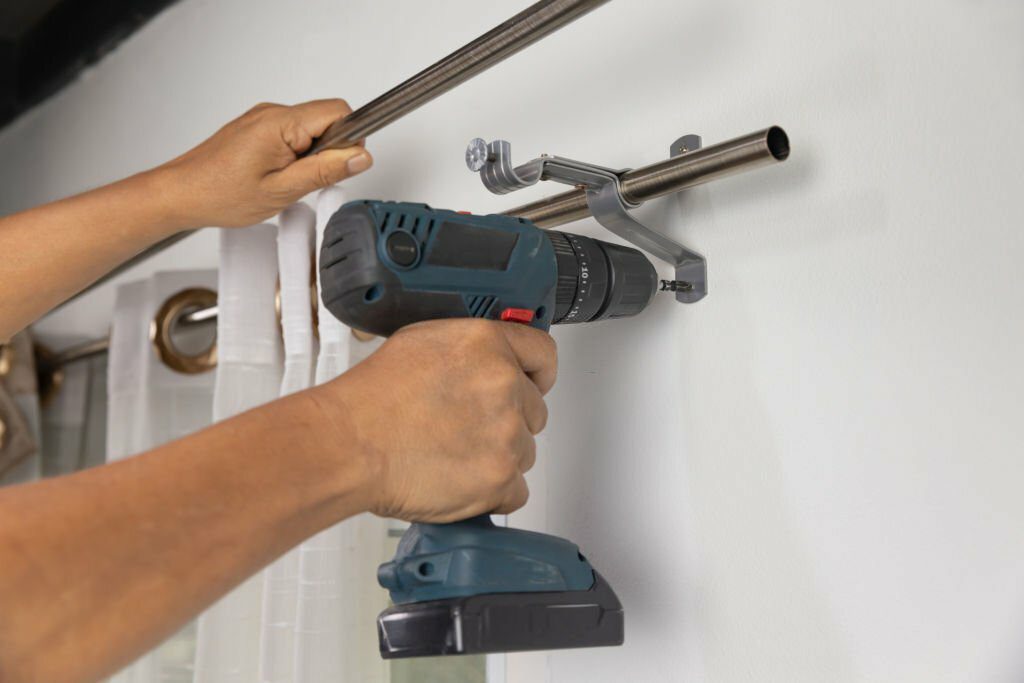
Step 5: Installing New Brackets
When it comes to choosing the right position for the new brackets, I consider a few factors. Firstly, I assess the height – placing the rod higher can give the illusion of a taller window, and a more spacious room. However, I make sure it’s not so high that the curtains don’t reach the floor.
The width is as important extending the rod three to six inches beyond the window frame can allow more natural light in when the curtains are open. I also keep in mind the wall stud locations and aim to align the brackets with them for added stability.
Proper Spacing and Leveling
Getting the spacing right is crucial to prevent the rod from sagging in the middle. I measure the length of the rod and divide it by three. This gives me the perfect spacing for three brackets one at each end and one in the middle.
If the rod is longer, I might add more brackets, ensuring they are evenly spaced. When it comes to leveling, I use a level tool. I place it on top of the brackets before I screw them in to ensure they’re perfectly horizontal. It’s a small step, but it can make a big difference in how the curtains hang.
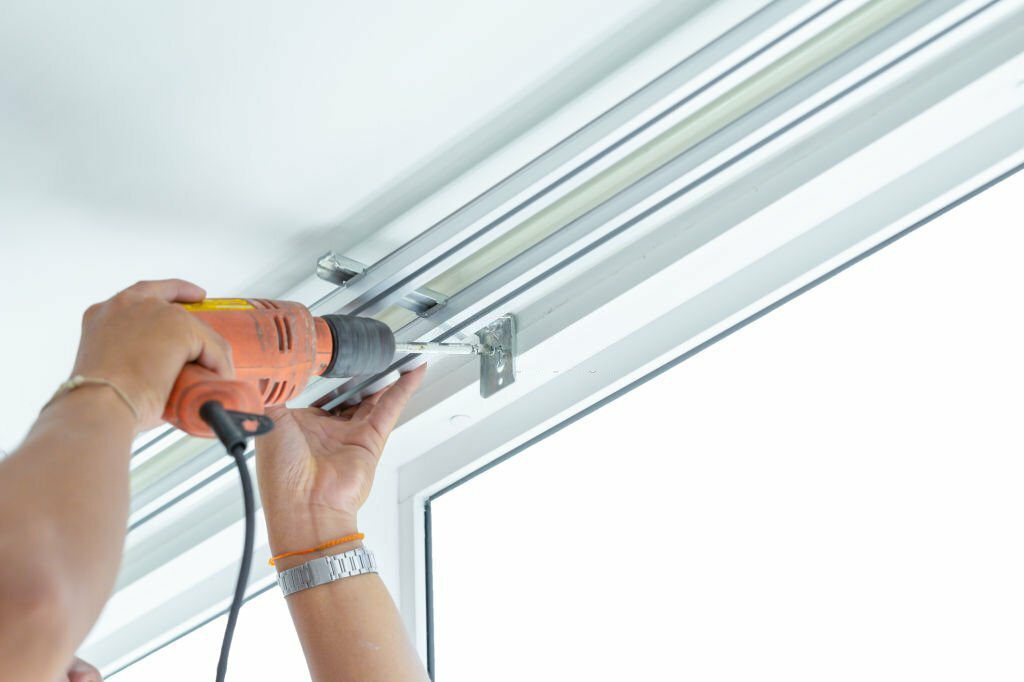
Drilling and Screwing in the Brackets
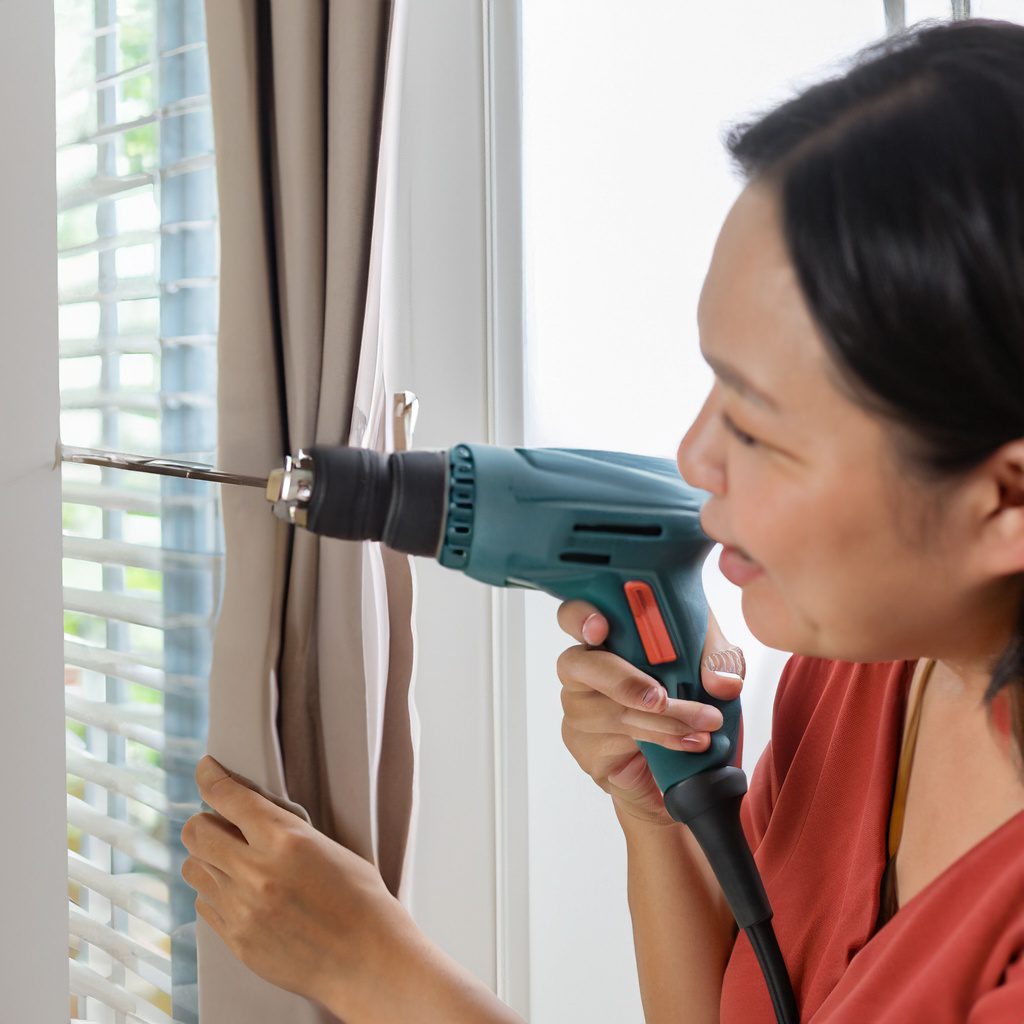
With the positions marked and level, I’m ready to drill the holes. I use a drill bit that’s slightly smaller than the screws I’ll be using. This provides a tight fit and ensures the screws will secure the brackets firmly. Once the holes are drilled, I align the bracket holes with those on the wall.
I then insert the screws into the holes on the brackets and use a screwdriver to secure them in place. For extra stability, especially for heavier curtains, I might use wall anchors or toggle bolts instead of screws.
Step 6: Rehanging the Curtain Rod
Once the brackets are securely in place, it’s time for me to mount the curtain rod. Holding the rod at both ends, I carefully place it into the bracket’s supportive hooks. I then test if the rod sits evenly on all the brackets. If the rod seems to be tilting to one side, I adjust the brackets to ensure they’re perfectly level.
Attaching the Curtains Securely
Attaching the curtains is the next step. I start by threading the curtain rings or hooks onto the rod, making sure they slide smoothly. Then, I attach the top of the curtain to these rings or hooks. I ensure that the curtain’s sides are distributed evenly and that they hang straight down. This is important because unevenly distributed curtains can put unnecessary strain on the rod and brackets.
Testing for Stability
Finally, after the curtains are hung, I test the setup for stability. I gently pull the curtains back and forth, observing how the rod and brackets handle the movement. I also give the rod a slight shake to see if it rattles in the brackets. If everything stays firmly in place, it’s a job well done. If I notice any instability, I revisit the brackets and screws for any necessary adjustments. This test is crucial in ensuring the longevity of the curtain rod and the safety of my wall and window treatments.
FAQs (Frequently Asked Questions)
Can a falling curtain rod cause damage to my walls or curtains?
Yes, a falling curtain rod can potentially cause damage to both your walls and curtains. It may result in wall damage, such as holes or chipped paint, and damage to your curtains, which can get torn or soiled during the fall.
This is why it’s essential to address the issue promptly to prevent further harm.
Is it necessary to replace my curtain rod, or can I repair it?
Whether you need to replace or repair your curtain rod depends on the extent of the damage and the condition of the rod. In many cases, repairing it is a viable and cost-effective option.
How can I choose a sturdy curtain rod that won’t fall?
To choose a sturdy curtain rod that won’t fall, focus on high-quality materials, robust brackets, and proper weight capacity. Steel, aluminum, or solid wood rods are durable options.
Ensure the brackets are secure and match the rod’s weight capacity to your curtain’s weight. Follow the manufacturer’s installation instructions meticulously for added stability.
Can loose screws and nuts be the reason my curtain rod keeps falling?
Yes, loose screws and nuts can indeed be a reason for your curtain rod falling. When these fasteners become loose, they can’t provide the necessary support, causing the rod to detach from the brackets.
Tightening or replacing these components is often a simple and effective fix for this issue.
Is upgrading to a heavy-duty curtain rod a good solution for preventing falls?
Upgrading to a heavy-duty curtain rod is an excellent solution for preventing falls. These rods are designed to support more weight and are generally more stable.
If you’ve had recurrent issues with your curtain rod falling, upgrading to a heavy-duty option can provide long-lasting stability and peace of mind.
How often should I inspect and maintain my curtain rod to prevent future issues?
Regular inspection and maintenance of your curtain rod can prevent future issues. It’s advisable to inspect it at least once every few months, or more often if you notice any signs of instability.
This proactive approach ensures that you catch problems early and can address them before they lead to a curtain rod failure.
When should I give up on DIY and seek professional help for my curtain rod?
Consider seeking professional help for your curtain rod when you encounter extensive damage or structural concerns, or if the repair involves complex tasks beyond your skill level.
Professionals have the expertise and tools to handle challenging situations, ensuring the safety and stability of your curtain rod.
How much does it cost to fix a curtain rod myself, and what’s the cost of hiring a professional?
The cost of fixing a curtain rod yourself can vary based on the extent of the repair and the materials needed. Generally, DIY costs are lower, with expenses primarily involving tools and replacement parts, which might range from a few dollars to around $50, depending on the project’s complexity.
Hiring a professional to fix your curtain rod typically involves labor costs in addition to materials. The total cost can range from $50 to $200 or more, depending on the extent of the repair and the local labor rates.
It’s essential to obtain quotes from professionals in your area to get a precise estimate for your specific situation.
Conclusion
To wrap things up, let’s pull back the curtains and reveal the truth: fixing a curtain rod isn’t as daunting as it may have seemed. You’ve mastered the art of curtain rod repair, and become the hero your window treatments needed. Now, you can confidently wave goodbye to drooping curtains and awkwardly improvised privacy screens for good. You can look forward to a future of frustration-free curtain-hanging experiences, not to mention the bragging rights that come with DIY mastery. So, get out there and show those curtain rods who’s boss!

I am Stacy Roberts, an experienced curtains expert. I spend most of my time writing about curtain design for various magazines and websites, including writing many blog posts on the topic for Homepicks24.com. I love helping people find the perfect curtains for their homes and take great pride in my work. When I'm not writing or helping people choose curtains, I enjoy spending time with my wife and two young children. I also love playing tennis and going to the beach. I believe that having a beautiful home with well-chosen curtains is essential to creating a special atmosphere of comfort and serenity, and thus I strive to help people find the right window treatment for their homes.